Dance Floors & Subfloors
Marley floors, sprung floors, and specialty surfaces for all dance styles.


Perfect performance. Superior French engineering.

One dance floor. Every class. Lasting performance.

Safe. Practical, Portable. Lasting support.


Real Stories from Studios, Theaters & Home UsersStagestep was definitely a perfect fit for my studio.
View Full Testimonial

Real Stories from Studios, Theaters & Home UsersSince the inception of my dance studio back in 2006, Stagestep flooring was the ideal choice for ICON Dance Complex. From the start, I labeled ICON as a “state of the art facility” and at the foundation of that statement was our dance flooring. Injury prevention, overall quality and rich look were the main reasons for choosing Stagestep flooring. The prefabricated encore floor with cushion and support layers have kept us dancing for years with amazing shock absorbing benefits. My body just feels better after dancing on a Stagestep floor. One of the best investments a studio owner can make for their dancers is quality flooring with injury preventing elements. The safety and longevity of the ICON dancers is most important to us, and there is no better choice than Stagestep flooring.
View Full Testimonial

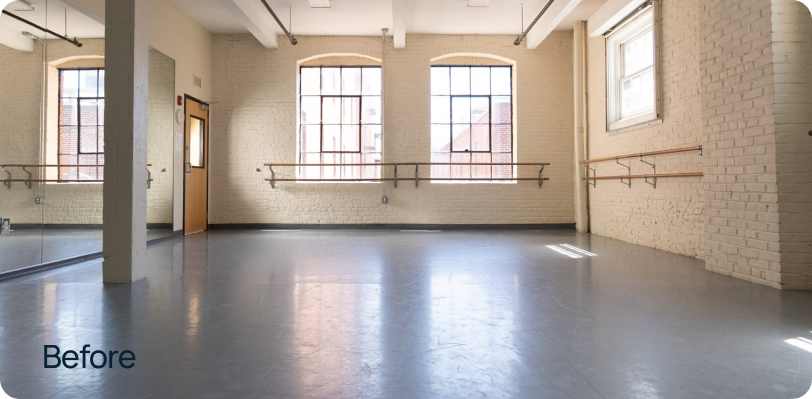
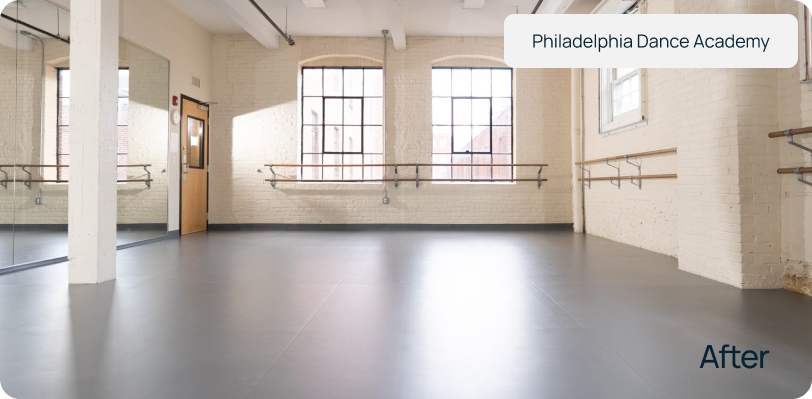
Real Stories from Studios, Theaters & Home UsersI have been using Stagestep Flooring at The Philadelphia Dance Academy for 18 years.
View Full Testimonial

Real Stories from Studios, Theaters & Home UsersAll of my studios have Stagestep Flooring back from 1981. If you want the quality and the installation of your life that’s going to last, and really make your studio special, think of Stagestep.
View Full Testimonial